Surprise!!
I have a bonus songwriting article for you, but this time it’s a little different. Now that we’ve covered the building blocks of lyric writing, I’ll be going through how to create a basic backing track on Garage Band.
If you’re not an apple user, I’m sorry but you wont have access to this software, however I hope some of the steps could be transferable to other pieces of software such as Logic or ProTools.
The Recording Sequence
- If you’re planning on recording anything live, that should be number 1 on your list. Garage Band has a handy metronome option which you can set to whatever tempo you like to record along too. (Fun tip: You can turn the metronome on and off with command and U)
If you’re adding MIDI tracks, this would also be the time to do so.
2. Editing and Overdubbing comes next. Listen to your recordings with a citric; ear. Finding any bits you’re not happy with. Here is when you can get rid of any annoyingly loud breaths, re-record a couple of lines that sound off or even get rid of any unwanted background noise.
3. Time to Mix! This is the time to start using plug ins such as EQ (equalisation), Compression and Automation (volume control)
4. Finally, its time to Master the track. This means editing everything at once to create the final object.

Using MIDI
MIDI stands for Musical Instrument Digital Interface. Essentially, there are tons of digital; instruments available for people to use no matter where you are.
The easiest way to access these instruments is to download the ones Garage Band comes with and to connect a MIDI Keyboard. You can get them on Amazon and don’t even have to spend a fortune!! The one I have bought only cost around £25!
Once plugged in to your laptop or computer, you now have access to hundreds, if not thousands or computer generated sounds. Using a MIDI keyboard doesn’t mean you can only play piano sounds, nor do you need to be skilled in actually playing the piano to work this (honestly my piano playing suuuuckkkssss.
Each key will correspond to either a note, or sound of whichever instrument you choose. Lets say you choose to play a midi drum kit, one key will represent a cymbal, the other the snare drum etc.

Loops Loops Loops Loops Loo-
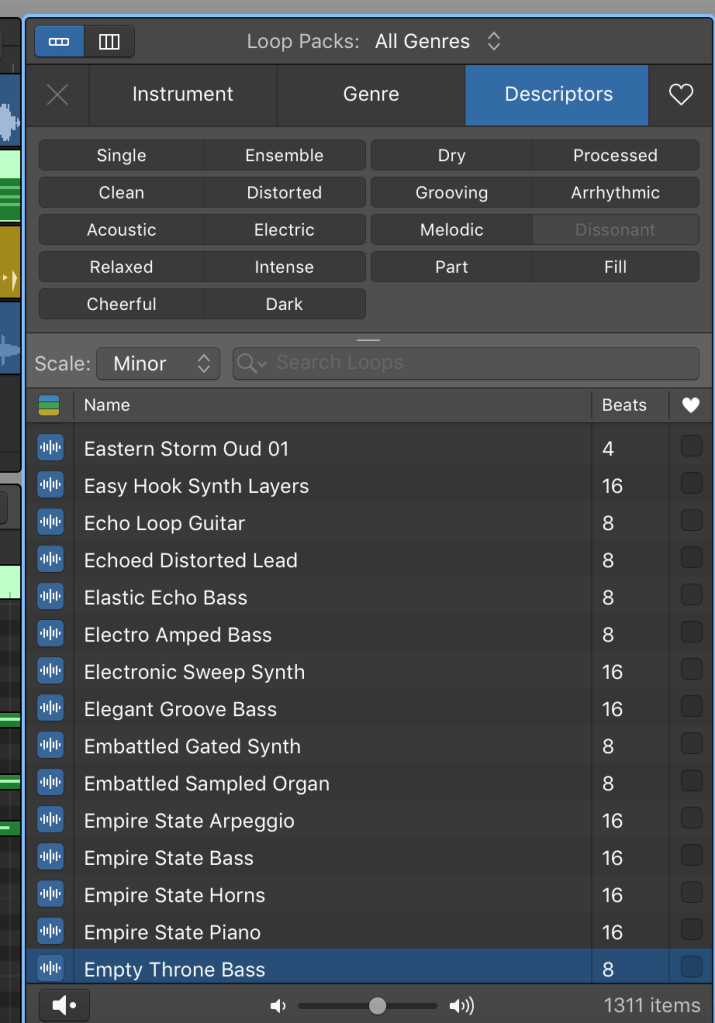
In garage band, you have access to a large collection of loops of all kinds. You can access these all in the loop browser. There are things such as rhythmic drum kits, bass guitars, synths, Dance-type beats and more.
You can drag and drop any loop into your mix and edit its pitch to fit your piece.You can do lots to software instruments that you can’t to real ones. You can use this toggle to change the pitch to fit your piece:
You can access the loop gallery buy clicking the loop button i the top right hand of your screen.

Creating a Drum Pattern
One of my favourite things about Garageband is that you can access virtual drum kits, that you can play just by clicking on your screen or dragging icons into different places on a virtual pad.
When you add a ‘new track’ these options appear:
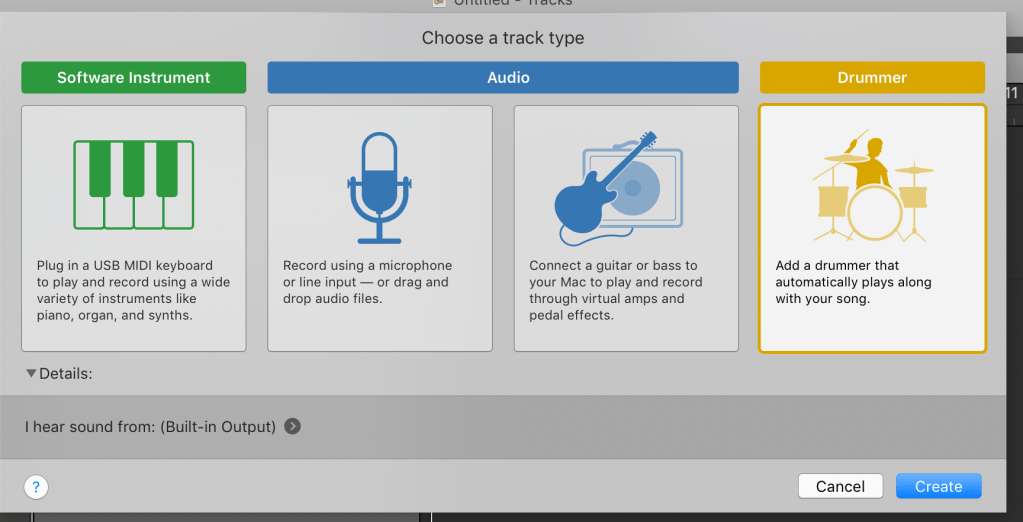
Here you also find options to add a MIDI track and Audio Tracks.
Once you click on ‘drummer’ you have so many options on how to customise your drum sound.
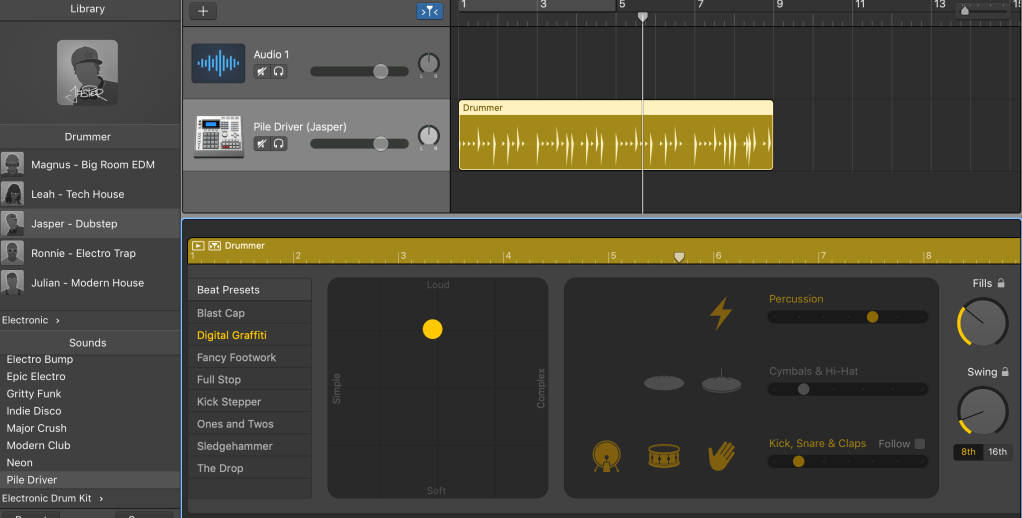
You can click what type of drum sound you want on the left column and the sound in the middle at the bottom. From there you can click what you want included at the bottom right and finally how loud, simple, complex or soft you want it by dragging the yellow circle around the virtual pad.
How I Created ‘I Rise’
To use all the things mention above, I decided to create a piece of music solely in garage band. As I wanted to spend more time on the backing (as I am just as much as a beginner as you guys are here!- That is, if you’re a beginner), I decided to create simple melody and take lyrics from something already written. I chose Maya Angelou’s poem “I Rise.’ (I didn’t sing all verses as some spoke about the struggles of black people as slaves and this would not be appropriate as a white person).
My first step was creating my melody and then recording my vocals. I toggled with the tempo on the metronome by clicking the number and sliding up and down until I found the tempo I was happy with. I chose 85.
I recorded my vocals using a USB Microphone. Much like MIDI keyboards, you can plug a USB mic directly into your laptop or computer.
After recording, I went back and critically listened to it. I found bits where I wasn’t happy with how I sounded, where the rhythm was out and got rid of any annoyingly loud breaths by removing the dead space (the bits between vocal phrases that are recorded but are essentially black)
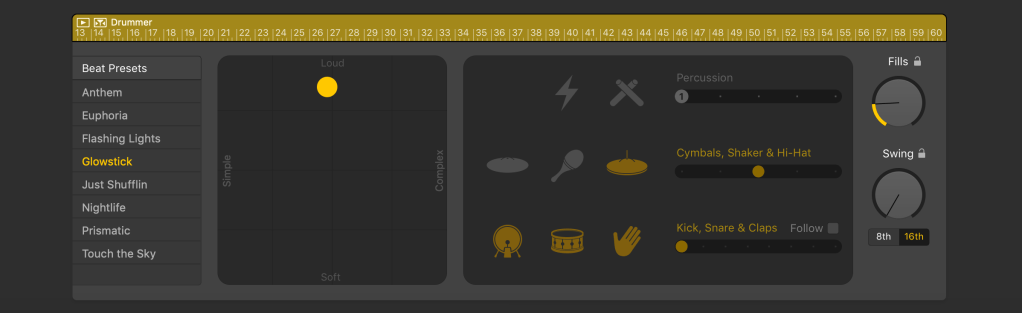
Next, I used the software drummer software to create the drum beat. Here is my layout.
Then it was time to get chordal. I plugged in my MIDI keyboard and chose a synth that fit into the vibe I wanted from the piece. I then played the chord sequence I wanted a couple of times. There was so need to keep playing them as I double clicked and set the loop setting on. The it as easy as just dragging until I was happy with how many I had!
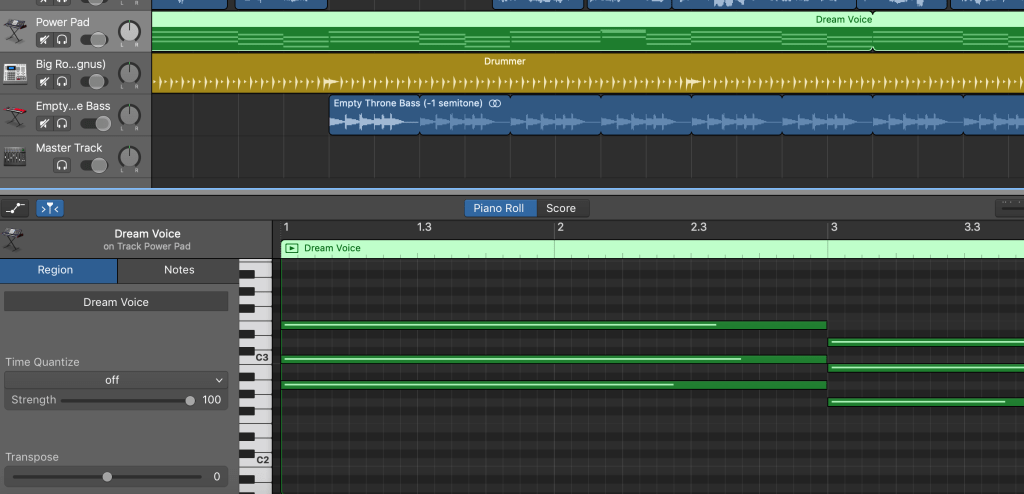
By double clicking on the MIDI track, you can bring up the notes in further detail. It was so easy to just click the end of the notes and drag them to the length that I wanted them to be, or even move them if I clicked the wrong note.
Next I decided to add a bass loop. It took a while to find one I was happy with but once I did I decided it was time to mix.

This icon, which you can find on the top left corner gives you access to EQ, Compression and Echo. Garageband comes with some super cool EQ presets, designed for each instrument. That being said, I used the Male Vocal preset on mine. Its worth trying them all to see what suits you best!
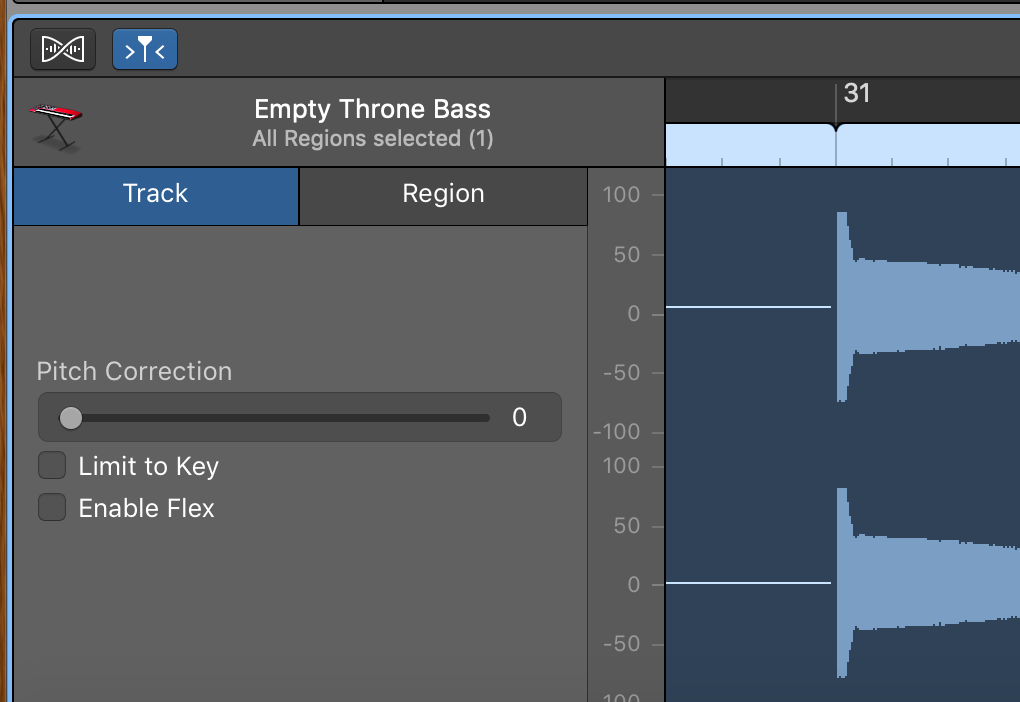
Hint: Double click your vocal line and it comes up with an option to add some some pitch correction! I set mine to 70 as I wanted it to have an electric feel but without sounding too robotic.
It was now time to sort the volume out. Click this icon:

This will open up automation. Automation can be used to control all these things:
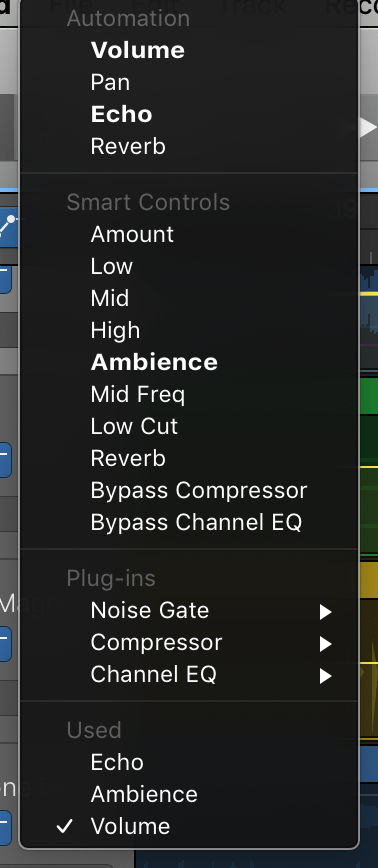
I used it to control the levels or volume on all my tracks and the echo on my vocal line.
Here is an image of what it looked like when I edited the echo automation.

Once these steps were all completed it was time to master.
When you click the edit icon to give you access to EQ etc., there is an option to click ‘master’ and apply these plug ins to the whole track. I did this and then adjusted the master volume with the volume slider on the master track.

Then it was done!! Click the link below to have a listen!!
Thanks for Reading!! I hope these tips could be helpful to you in terms of creating your own music!!!
